How to Make an App: 8 Steps From Idea to the App Store
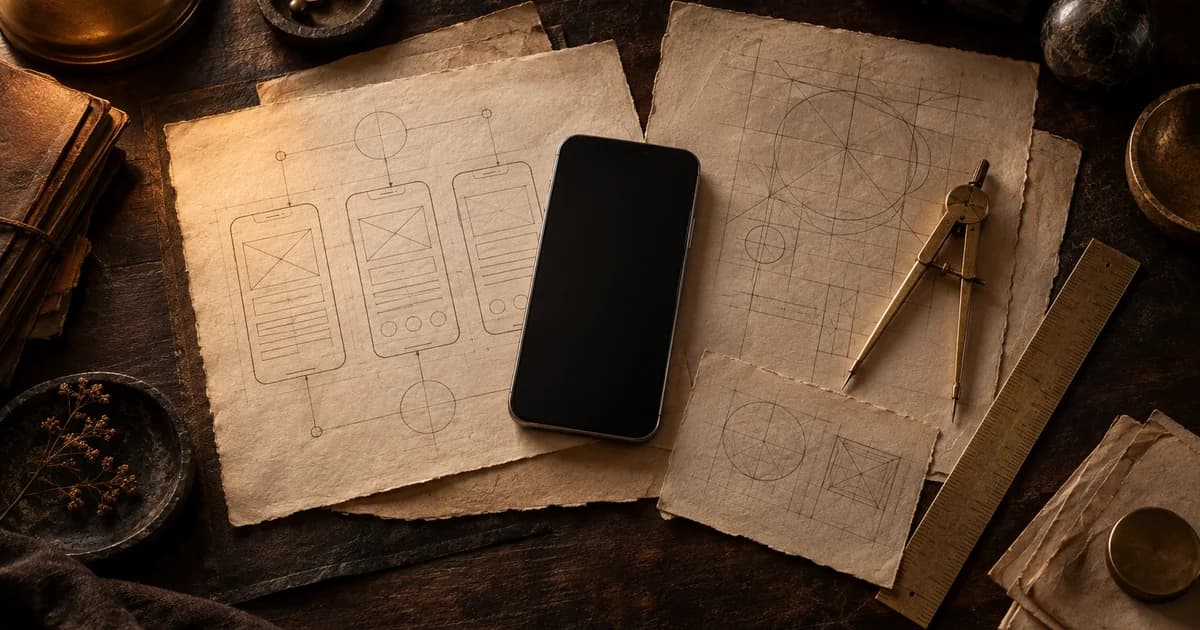
To make an app, start with one problem for one type of user, and prove people care before you build. Then scope the smallest version that solves it (your MVP), sketch the screens, and choose how to build: a no-code builder for a simple prototype, a cross-platform framework such as Flutter or React Native for iOS and Android from one codebase, or native Swift and Kotlin for the best performance and platform features. Build in short cycles, test on real devices, publish through the Apple Developer Program and Google Play Console, and improve from what users do.
Step 1: Define one problem and one user
Write one sentence: "[User] struggles to [task] because [reason]." If you cannot fill it in, you have an idea, not an app yet.
Then talk to at least ten people who match that user. Ask how they solve the problem today and what it costs them in time or money. If nobody has a workaround, the problem may not hurt enough.
Step 2: Check what already exists
Search the App Store, Google Play and the web for your main task. Existing apps are not a reason to stop; they prove demand. Read their reviews to find what users still complain about. That gap is your angle.
Step 3: Scope your MVP
List every feature you imagine, then keep only what a user needs to complete the core task once. Everything else goes on a later list. A good MVP:
- Solves one task end to end
- Works for one type of user
- Has a clear way to measure success, such as tasks completed or weekly active users
Our guides on the mobile app MVP and prototype vs MVP help you draw the line. Write it down in a short requirements document before anyone designs a screen.
Step 4: Design the screens
- Map the user flow: every step from opening the app to finishing the task.
- Sketch wireframes on paper or in a design tool.
- Build a clickable prototype and put it in front of five users. Watch where they hesitate.
- Design the final screens following Apple's Human Interface Guidelines and Google's Material Design so the app feels at home on each platform.
Step 5: Choose how to build it
| Approach | What it is | Fits you when | Watch out for |
|---|---|---|---|
| No-code builder | Visual tools that build apps without programming | You want to test a simple idea fast | Limits on custom features, performance and moving away later |
| Cross-platform | Flutter or React Native: one codebase for iOS and Android | You need both platforms on a tighter team | Some platform features need native code |
| Native | Swift for iOS, Kotlin for Android | You need top performance, device features or the newest platform APIs | Two codebases to build and maintain |
| Web app or PWA | An app that runs in the browser | Your users work on desktop too, or you do not need the stores | Less access to device features and store discovery |
Our comparison of native vs cross-platform goes deeper.
Then choose who builds it: you (learn to code with free official resources from Apple and Google), a freelancer, or a studio that handles design and development together.
Step 6: Build in short cycles
- Set up the basics first: accounts, data storage, sign-in if you need it, and analytics.
- Build the core task before anything else.
- Work in one- or two-week cycles, and test each finished piece on a real phone.
- Keep the code, accounts and store listings in your name, even when someone else builds the app.
How long does this take? A focused MVP often takes a few months; our guide on how long it takes to build a mobile app breaks it down by scope.
Step 7: Test and publish
- Test on real devices, old and new, on slow networks, and with accessibility settings turned on. Use our mobile app testing checklist.
- Run a beta with TestFlight on iOS and internal or closed testing on Google Play.
- Enroll as a developer. Apple charges an annual fee for the Apple Developer Program; Google charges a one-time registration fee for a Play Console account.
- Prepare your store listing: name, description, screenshots, privacy details and a support URL.
- Submit for review. Apple and Google each review apps against their guidelines. Read them before you build features that touch payments, user data or content from other users.
Step 8: Launch and improve
Publishing is the start. Watch what users do in the first weeks: where they drop off, what they search for, what they ask support. Fix the biggest problem first, ship updates regularly, and reply to reviews. Plan for maintenance: every major iOS and Android release can require updates.
Build your app with Doved Studio
If you have validated the problem and scoped your MVP, you can hand the build to one team. Bring Doved Studio your one-sentence problem, your user flow and your must-have feature list. We combine product scoping, design and development for iOS, Android and web in one studio, from prototype to MVP to production, and we transfer the code, accounts and product ownership to you.
Common questions
Can you make an app with no coding experience?
Yes. No-code builders let you create a simple app or prototype without programming. For custom features, performance or scale, you will likely need code, either your own or a developer's.
How long does it take to make an app?
A simple prototype can take days to weeks. A focused MVP often takes a few months, and a complex product longer. Scope matters more than anything else.
Should you build for iOS or Android first?
Start where your users are. Check who your target users are and which phones they carry. Cross-platform frameworks let you ship both from one codebase.
Do you need a company to publish an app?
No. You can publish as an individual on both stores. Some businesses enroll as an organization so the company name appears as the seller.